Building AI DBA Workbench from Source Code
You can find the AI DBA Workbench source code and configuration examples in the Github repository. The project uses Makefiles for building and testing; you can build all of the components from the top-level directory.
Use the following make command to build all of the components:
make all
Or, specify a component name with the make command to build a component
individually. For example, the following command builds the collector:
cd collector && make build
After completing the installation, create configuration files and configure each component for your environment. You can copy sample configuration files from the GitHub repository:
-
The Collector Configuration file describes datastore and connection pool settings. The
collector.yamlfile must include the location of: -
The Server Configuration file describes authentication, TLS, and LLM settings. The
server.yamlfile must include:- The secret_file
- The password associated with the user that owns the
/opt/ai-workbench/datadirectory (under thedatabase:section).
-
The Alerter Configuration file describes threshold and anomaly detection settings. The
alerter.yamlfile must include: -
The Client Configuration file describes proxy and build settings.
Configuring systemd Services
The following sections provide details about creating systemd service files to run each component as a background service.
Configuring the Collector Service
The collector service file configures the collector to start automatically and restart on failure.
Create the service file at
/etc/systemd/system/pgedge-ai-dba-collector.service; replace the
user_name placeholder with the name of the operating system user
account that owns the /opt/ai-workbench/data directory:
[Unit]
Description=pgEdge AI DBA Workbench Collector
After=network.target postgresql.service

[Service]
Type=simple
User=user_name
WorkingDirectory=/opt/ai-workbench
ExecStart=/opt/ai-workbench/ai-dba-collector \
    -config /etc/pgedge/ai-dba-collector.yaml
Restart=on-failure
RestartSec=10

[Install]
WantedBy=multi-user.target
Configuring the Server Service
The server service file configures the server to start automatically and restart on failure.
Create the service file at
/etc/systemd/system/pgedge-ai-dba-server.service; replace the user_name
placeholder with the name of the operating system user account that owns the
/opt/ai-workbench/data directory:
[Unit]
Description=pgEdge AI DBA Workbench Server
After=network.target postgresql.service

[Service]
Type=simple
User=user_name
WorkingDirectory=/opt/ai-workbench
ExecStart=/opt/ai-workbench/ai-dba-server \
    -config /etc/pgedge/ai-dba-server.yaml
Restart=on-failure
RestartSec=10

[Install]
WantedBy=multi-user.target
Configuring the Alerter Service
The alerter service file configures the alerter to start automatically and restart if the process exits.
Create the service file at
/etc/systemd/system/pgedge-ai-dba-alerter.service; replace the user_name
placeholder with the name of the operating system user account that owns the
/opt/ai-workbench/data directory:
[Unit]
Description=pgEdge AI DBA Workbench Alerter
After=network.target postgresql.service

[Service]
Type=simple
User=user_name
WorkingDirectory=/opt/ai-workbench
ExecStart=/opt/ai-workbench/ai-dba-alerter \
    -config /etc/pgedge/ai-dba-alerter.yaml
Restart=always
RestartSec=10

[Install]
WantedBy=multi-user.target
Enable and Start the Services
Use systemctl to reload the daemon and enable each service.
In the following example, the systemctl commands reload the daemon,
enable all services, and start each one:
sudo systemctl daemon-reload
sudo systemctl enable pgedge-ai-dba-collector
sudo systemctl enable pgedge-ai-dba-server
sudo systemctl enable pgedge-ai-dba-alerter
sudo systemctl start pgedge-ai-dba-collector
sudo systemctl start pgedge-ai-dba-server
sudo systemctl start pgedge-ai-dba-alerter
In the following example, the systemctl status command checks the
status of each service:
sudo systemctl status pgedge-ai-dba-collector
sudo systemctl status pgedge-ai-dba-server
sudo systemctl status pgedge-ai-dba-alerter
Running the Workbench
Before running the Workbench, add a user to the auth.db file. The
auth.db file is the server's own database for user credentials; the
file stores authentication details only for the AI Workbench.
In the following example, the ai-dba-server command adds a new user
account to the Workbench:
/opt/ai-workbench/ai-dba-server -add-user -username user_name
The command prompts for a Workbench password and optional user details. In the following example, the command creates a login for the AI DBA Workbench server:
/opt/ai-workbench/ai-dba-server -add-user -username susan
Enter password:
Confirm password:
Enter full name (optional): Susan
Enter email address (optional): susan@pgedge.com
Enter notes for this user (optional):

======================================================================
User created successfully!
======================================================================

Username:  susan
Full Name: Susan
Email:    susan@pgedge.com
Status:   Enabled
======================================================================
Copy the client files to the appropriate directory.
In the following example, the cp command copies the client files to
the installation directory:
sudo mkdir -p /opt/ai-workbench/client
sudo cp -r assets index.html favicon.ico /opt/ai-workbench/client/
Install and configure nginx to serve the client files and proxy API requests to the server.
In the following example, the apt command installs nginx:
sudo apt install nginx
Create the nginx configuration file at
/etc/nginx/sites-available/ai-dba-workbench:
server {
    listen 80;
    server_name your_server_hostname_or_ip;

    root /opt/ai-workbench/client;
    index index.html;

    location /api/ {
        proxy_pass http://localhost:8080;
        proxy_set_header Host $host;
        proxy_set_header X-Real-IP $remote_addr;
        proxy_set_header X-Forwarded-For $proxy_add_x_forwarded_for;
        proxy_set_header X-Forwarded-Proto $scheme;
    }

    location /mcp/ {
        proxy_pass http://localhost:8080;
        proxy_set_header Host $host;
        proxy_set_header X-Real-IP $remote_addr;
        proxy_set_header X-Forwarded-For $proxy_add_x_forwarded_for;
        proxy_set_header X-Forwarded-Proto $scheme;
        proxy_buffering off;
        proxy_cache off;
        proxy_read_timeout 300s;
    }

    location = /health {
        proxy_pass http://localhost:8080;
    }

    location / {
        try_files $uri $uri/ /index.html;
    }
}
In the following example, the ln and systemctl commands enable the
configuration and restart nginx:
sudo ln -s /etc/nginx/sites-available/ai-dba-workbench /etc/nginx/sites-enabled/ai-dba-workbench
sudo rm /etc/nginx/sites-enabled/default
sudo nginx -t
sudo systemctl restart nginx
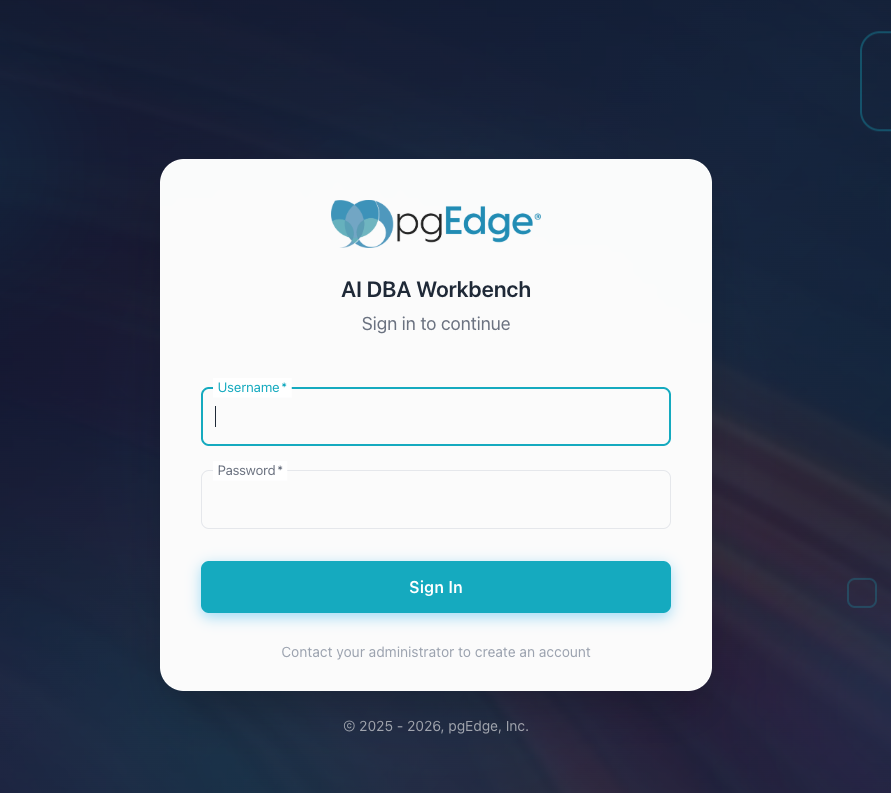
Open a browser and navigate to http://<server-ip>; provide
authentication details when the Workbench opens.
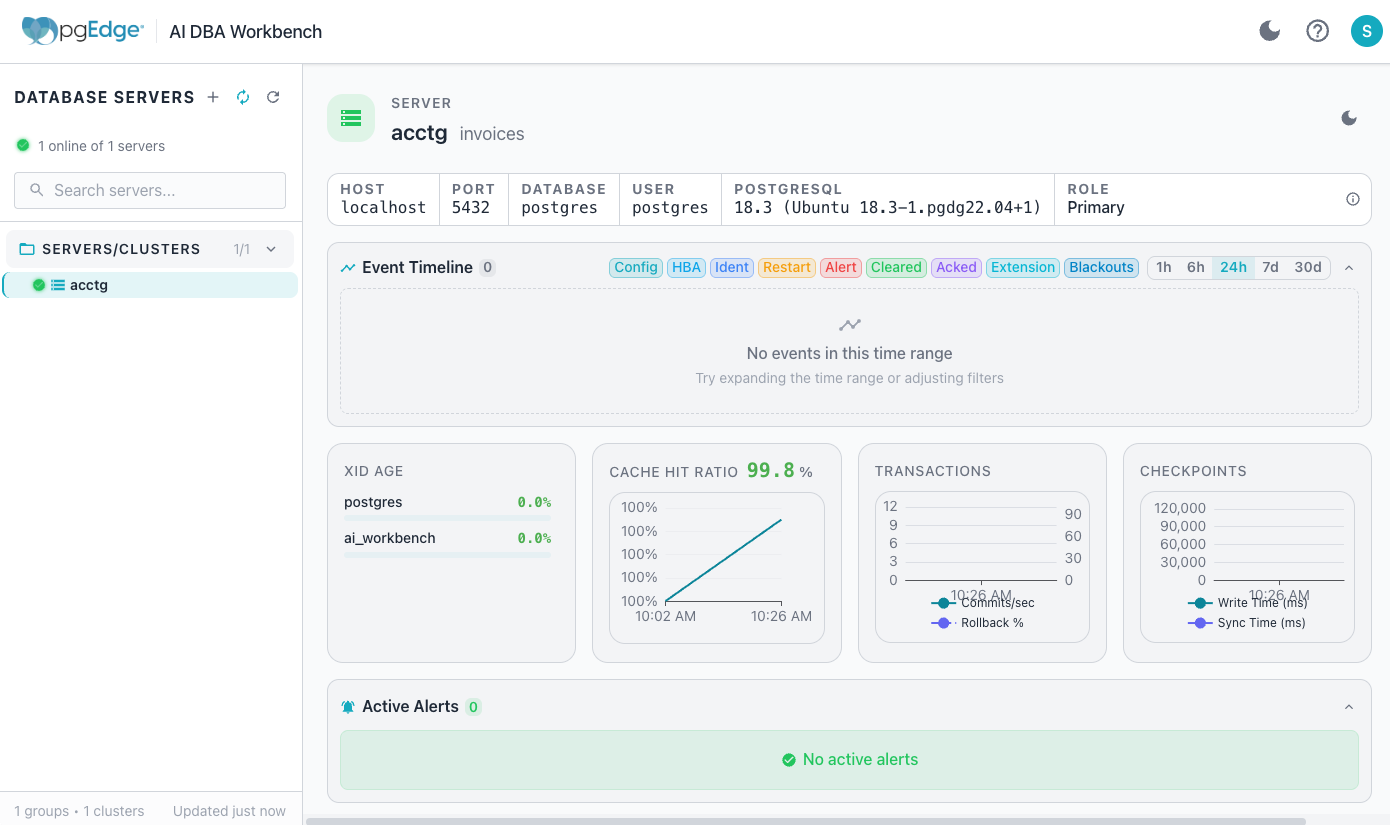
After logging in, select the + next to the DATABASE SERVERS heading
in the left navigation panel to add a server definition.

Connecting to a Local PostgreSQL Server
By default, the server blocks connections to internal and private IP addresses. To monitor a PostgreSQL instance on the same host or local network, enable internal network connections in the server configuration file.
In the following example, the vi command opens the server
configuration file for editing:
sudo vi /etc/pgedge/ai-dba-server.yaml
Locate the connection_security section and set allow_internal_networks
to true:
connection_security:
  allow_internal_networks: true
In the following example, the systemctl command restarts the server
to apply the change:
sudo systemctl restart pgedge-ai-dba-server
When adding a server definition, provide the connection details and
specify localhost in the host name field before selecting Save.